Intro
In preparation of a research project (details to follow soon) coming up I’ve had to do some prep work in regard to the hardware I’ll be using.
This post details how to set up a headless Raspberry Pi 4 and fine tune the power consumption as it will be running off of a USB battery pack.
Installing preferred OS on the microSD card.
Insert microSD card into your computer.
Download, install and run the Raspberry Pi Imager
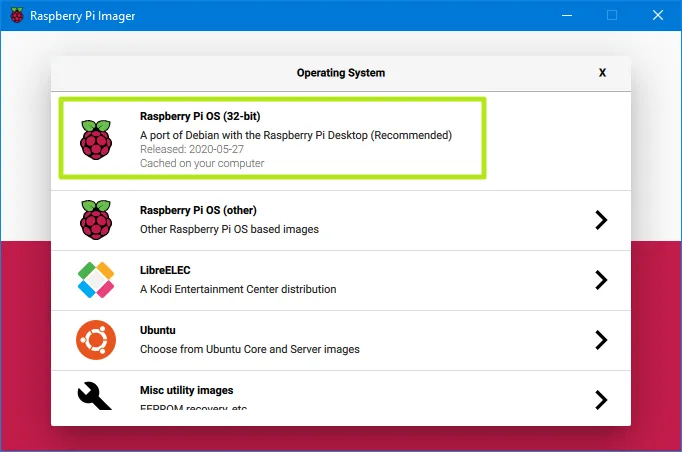
Click the Choose OS button. A menu appears.

4.Select the OS that you want imaged to your microSD card, if it’s one you’ve download i.e. Kali Linux then select Use custom at the bottom of the list.
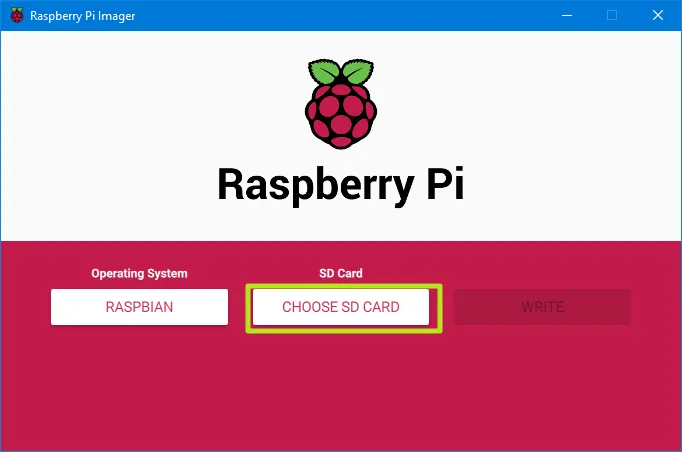
5.Click Choose SD card and select your card from the menu.
6.Click Write. This process will take a while as the image is transferred to the microSD and is then verified.
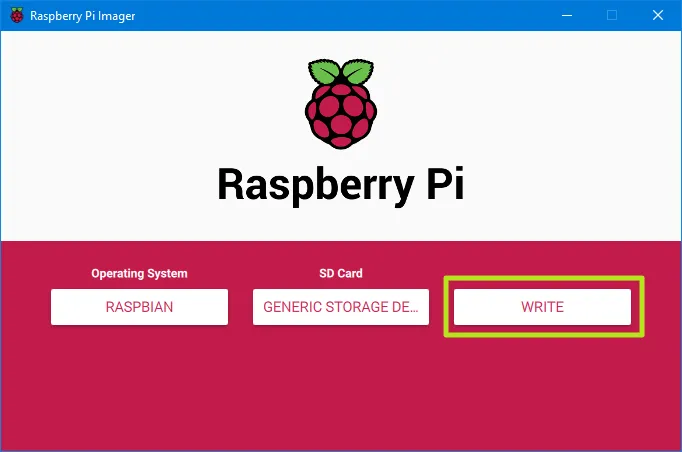
N.B. Do not remove the microSD card yet!
Enable SSH
As this is a headless setup whereby we will not be using a monitor/keyboard/mouse we need to set up remote access via SSH.
Write an empty text file named “ssh” (no file extension) to the root of the directory of the card. When it sees the “ssh” on its first boot-up, the OS will automatically enable SSH.

Wi-Fi Setup
To setup a Wi-Fi connection on your headless Raspberry Pi, create a text file called wpa_supplicant.conf and place it in the root directory of the microSD card. You will need the following text in the file.
1
2
3
4
5
6
7
8
9
10
country=UK
ctrl_interface=DIR=/var/run/wpa_supplicant GROUP=netdev
update_config=1

network={
	scan_ssid=1
	ssid="your_wifi_ssid"
	psk="your_wifi_password"
	key_mgmt=WPA-PSK
}
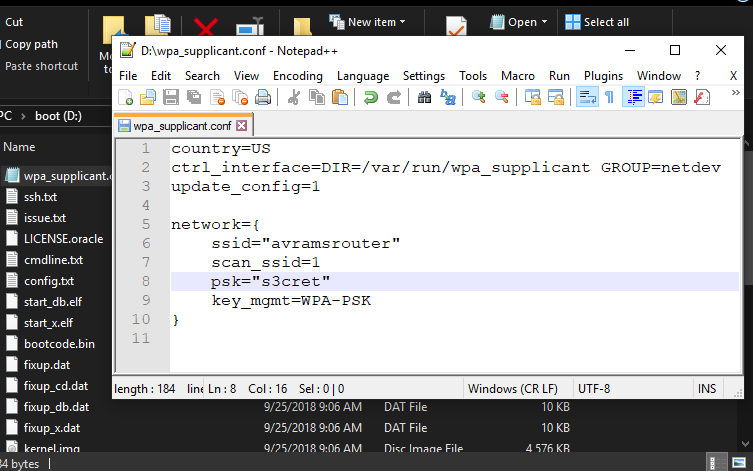
N.B. Remember to change country to your location.
Power Optimisation
Dependent on your model Raspberry Pi these are the estimated power consumption figures:
| Model | IDLE | LXDE Loaded | 1080 resolution video | 400% CPU Loaded |
|---|---|---|---|---|
| Raspberry Pi 4B | 575 mA | 885 mA | 600 mA | 1280 mA |
| Raspberry Pi 3B+ | 400 mA | 690 mA | 510 mA | 980 mA |
| Raspberry Pi Zero W | 120 mA | 160 mA | 170 mA – | |
| Raspberry Pi Zero | 100 mA | 140 mA | 140 mA – |
If you’re running a project whereby your device is running off an external battery then every ounce of power saved counts!
The following are a couple of tips for reducing consumption.
Disable the USB Controller
Power Saved? Approximately 100mA.
To disable the USB controller on your Raspberry Pi execute the following command:
echo '1-1' |sudo tee /sys/bus/usb/drivers/usb/unbind
To re-enable the USB controller when it’s needed again:
echo '1-1' |sudo tee /sys/bus/usb/drivers/usb/bind
After a reboot the USB controller will be enabled automatically.
N.B. I thought this was a great way to save power on my upcoming project…then remembered I’m using a USB powered Wi-Fi adapter 🤦🏻♂️
Disable HDMI Output
Power Saved? Approximately 30mA.
To disable the HDMI output on your Raspberry Pi, execute the following command:
sudo /opt/vc/bin/tvservice -o
To re-enable the HDMI output when you need it back use this command:
sudo /opt/vc/bin/tvservice -p
After a reboot HDMI output is enabled automatically
Disable Wi-Fi and Bluetooth
Power Saved? Approximately 40mA.
If your solution isn’t using Wi-Fi or Bluetooth, you can disable them or just one of them.
To disable Wi-Fi and Bluetooth, open /boot/config.txt, add these parameters, and reboot:
1
2
3
[all]
dtoverlay=disable-wifi
dtoverlay=disable-bt
To re-enable Wi-Fi and Bluetooth (or just one of them), simply remove the parameter(s) from the file and reboot.
Disable Onboard LEDs
Please note that these configurations are specific to the Raspberry Pi 4 Model B.
Power Saved? Approximately 10mA.
We can disable the onboard LEDs on the Pi by again editing the /boot/config.txt file, adding the following, and rebooting:
Disable the PWR LED
1
2
dtparam=pwr_led_trigger=none
dtparam=pwr_led_activelow=off
Disable the Activity LED
1
2
dtparam=act_led_trigger=none
dtparam=act_led_activelow=off
Disable ethernet port LEDs
1
2
dtparam=eth_led0=4
dtparam=eth_led1=4